
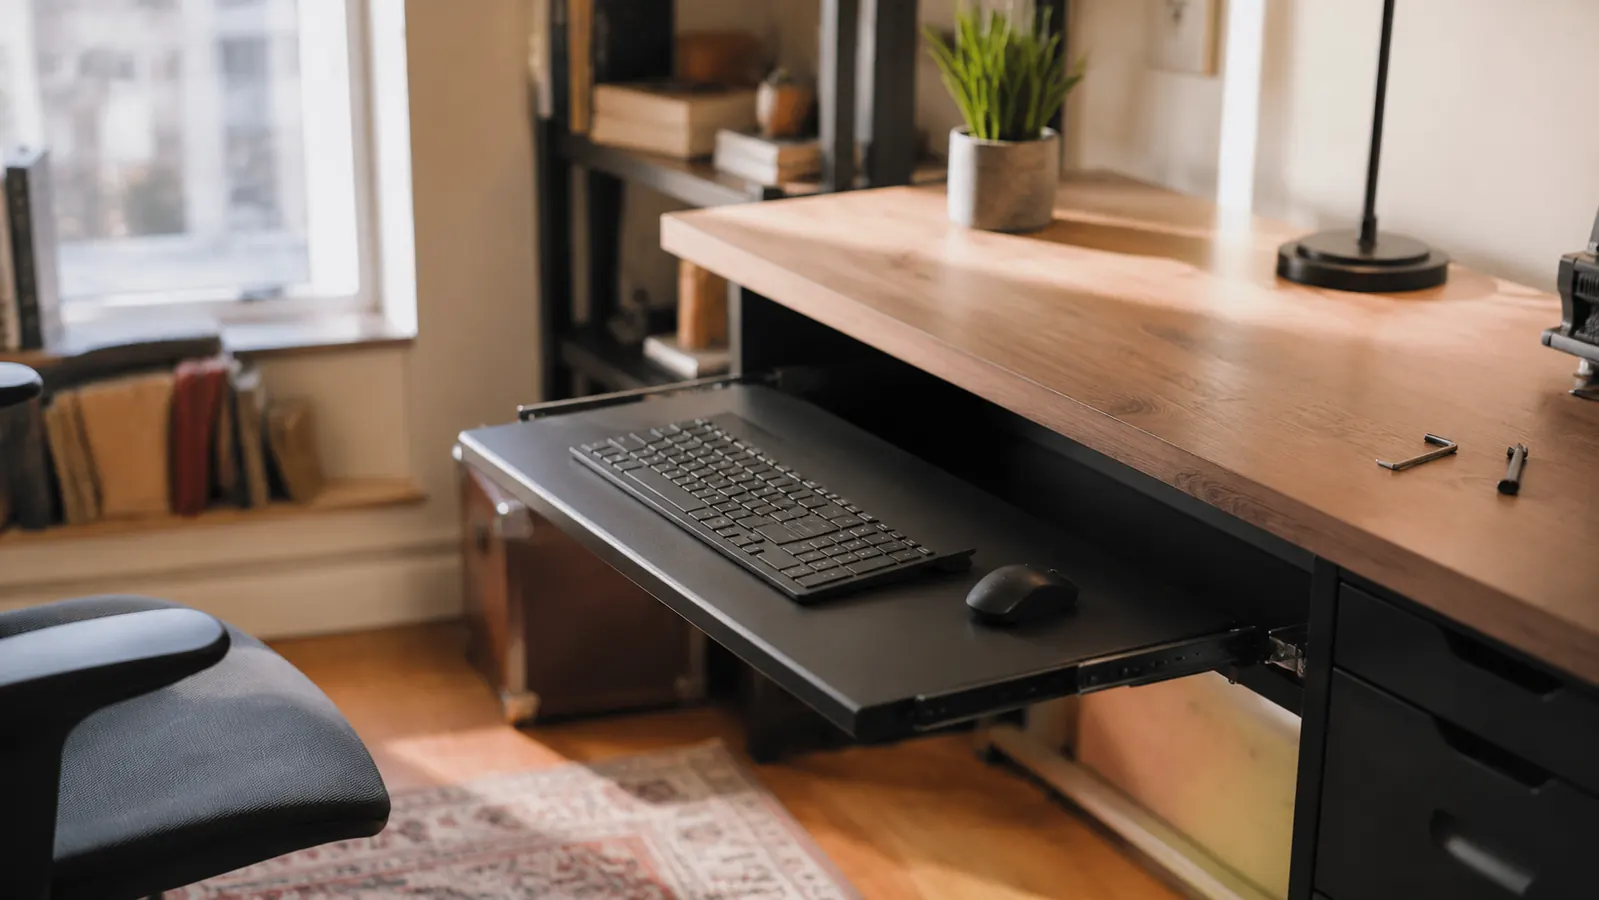
Keyboard tray installation is a fifteen-minute job when you do the steps in order, and a frustrating half hour of loosened clamps and second guesses when you do not. I have mounted enough of these under enough desks, both my own and for people I have helped set up a home office, to know exactly where people go wrong. Most of it is not the hardware. It is skipping the measuring step, tightening the wrong clamp first, or trying to route the mounting bracket around a drawer that was never going to fit. None of that is complicated once you see the order it needs to happen in.
This guide walks through installing a clamp-on tray step by step, using the tool I actually have clamped under my own desk right now, the VIVO Small Keyboard Tray. I picked it because it uses a true C-clamp mount instead of adhesive brackets, which matters if you rent your space or just do not want to commit to anything permanent. The same five steps below apply to most clamp-on trays on the market, but I will flag the two or three places where VIVO's specific hardware makes the process either easier or slightly different from a cheaper tray with thinner clamp arms.
The reason I steer people toward a clamp-on mount instead of a drilled or bolted one comes down to reversibility. A drilled bracket is permanent, which is fine if you own your desk and never plan to move it, but a bad fit for anyone renting, sharing a house, or swapping desks every few years. The clamp system on the VIVO tray comes off just as cleanly as it goes on, no wood filler, no touch-up paint, no holes left behind for a landlord to notice at move-out. That is the whole appeal, and it is worth keeping in mind as you work through the steps below, since it means there is very little you can do here that cannot be undone.
Tired of Guessing Where the Clamp Should Go?
Skip the trial and error. The VIVO keyboard tray comes with a true no-drill clamp mount that works on most standard desk edges, plus everything you need in the box. See today's price on Amazon before you start.
Amazon Check Today's Price on Amazon →Step 1: Measure Your Desk Edge and Clear the Space Underneath
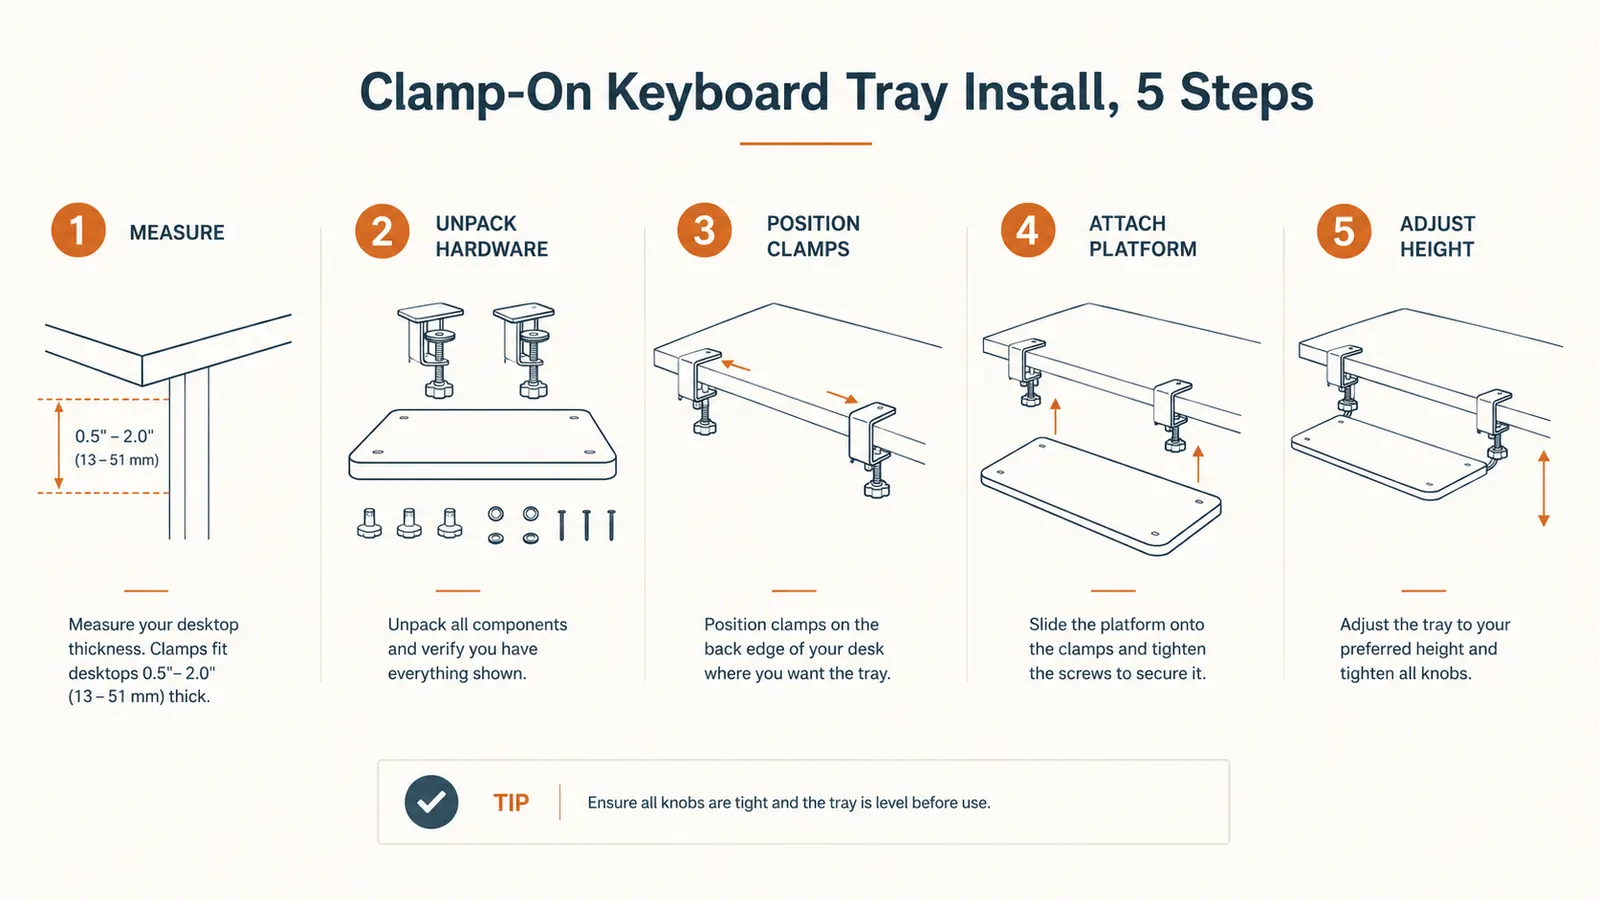
Before you touch a screwdriver, measure the thickness of your desk edge where the tray will mount, and check that number against the clamp range listed in your tray's manual. The VIVO Small Keyboard Tray clamps to a wide range of standard desk edges, but I have seen people skip this step and get partway through installation before realizing their desk's front lip is either too thin for the clamp screws to seat or too thick for the clamp jaws to close around it. Five minutes with a tape measure now saves you from repacking the box later.
Next, clear out whatever lives directly under your desk edge, at least the section where the tray track will sit. Rolling file carts, cord bundles, and storage bins are the usual culprits. I had to shift a small drawer unit about four inches to the left the first time I mounted mine, and I would rather you plan for that now than discover it with the clamps half tightened. Take a look at where your knees sit when you are seated too. The tray track adds a few inches of hardware below the desktop, and if your chair is already snug under there, you may want to slide the mounting position slightly off center rather than dead center under your keyboard.
Gather your tools while you are at it, even though most clamp-on trays keep this list short. You will want a tape measure, the Allen wrench that comes in the box, and a rag or towel to lay across your lap or the floor while you work upside down under the desk. I also keep a small flashlight nearby, since the underside of a desk is one of the darker corners of most home offices and squinting at a clamp bracket in dim light is how people misread the orientation and start over.
Step 2: Unpack and Identify the Hardware
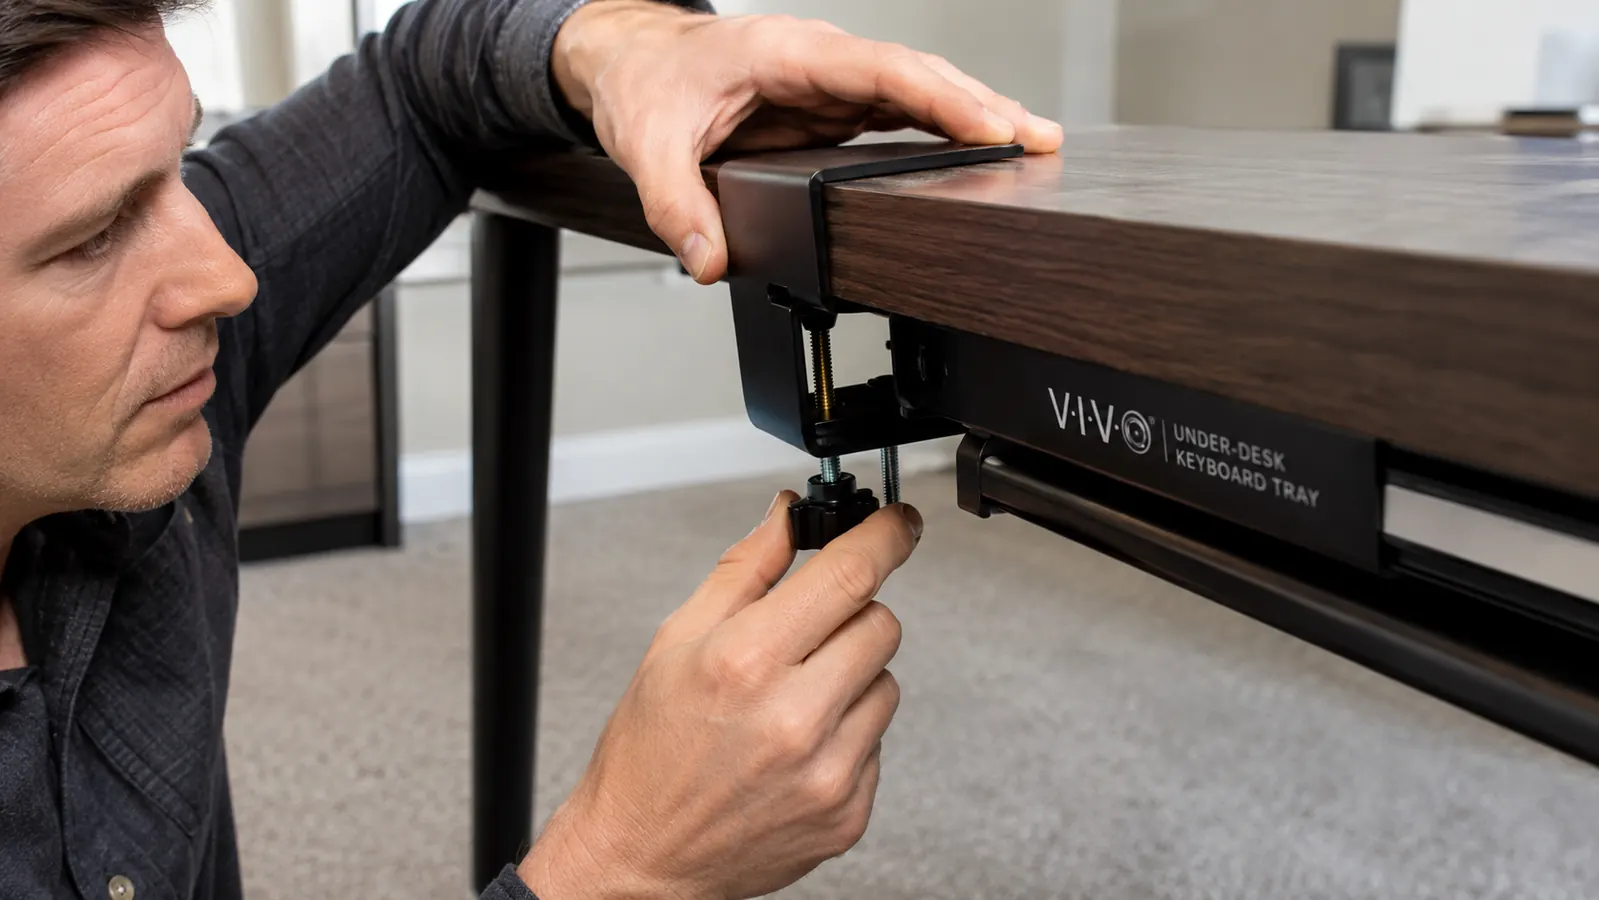
Lay every piece out on the desktop before you start attaching anything. A clamp-on tray kit typically includes the sliding track, the platform, two C-clamps, mounting screws, and an Allen wrench. The VIVO tray ships with all of that in one box, nothing extra to buy, which is one of the reasons I picked it over a couple of cheaper trays that made you supply your own hex key. Match what is in front of you against the included instruction sheet, not because the hardware is likely to be missing, but because it is much easier to identify a part when you are not simultaneously trying to attach it.
Pay attention to which side of each clamp bracket faces up. On the VIVO tray, the bracket has a flat mounting plate that sits against the underside of the desk and a threaded knob that tightens upward into it. Getting this backward is the single most common mistake I have seen, and it is an easy one to make if you are moving fast. Confirm the orientation against the manual's diagram before you tighten anything, since backing out a half tightened clamp is more annoying than it should be.
Step 3: Position and Hand-Tighten the C-Clamps
Slide the track into position under the desk where you want the tray to sit when it is pulled out, keeping it centered under where your keyboard currently lives on the desktop. Hook the first C-clamp over the desk edge and turn the knob by hand until it is snug but not fully tight. Do the same with the second clamp on the other end of the track. Hand tightening both clamps first, before fully cranking down on either one, keeps the track sitting level. If you fully tighten one side first, the track can end up angled, and you will be loosening it again to fix that.
Once both clamps are snug and the track looks level, use the Allen wrench to finish tightening each one. You want it firm enough that the tray does not wobble or shift when you push down on the track by hand, but you are tightening a clamp onto wood, not driving a screw into it, so there is no need to force it past that point. Overtightening a C-clamp on a laminate or veneer desk can dent the underside surface over time, which nobody wants on a desk they are planning to keep.
If your desk has a rounded or beveled front edge rather than a flat square one, take an extra minute here. A rounded edge gives the clamp jaw less flat surface to grip, so it is worth double checking the tightness after the first few days of use rather than assuming it is set and forgetting about it. I run my thumb along the clamp every so often during the first week, mostly out of habit, just to confirm nothing has crept loose under normal use.
Step 4: Attach the Sliding Platform and Test the Motion
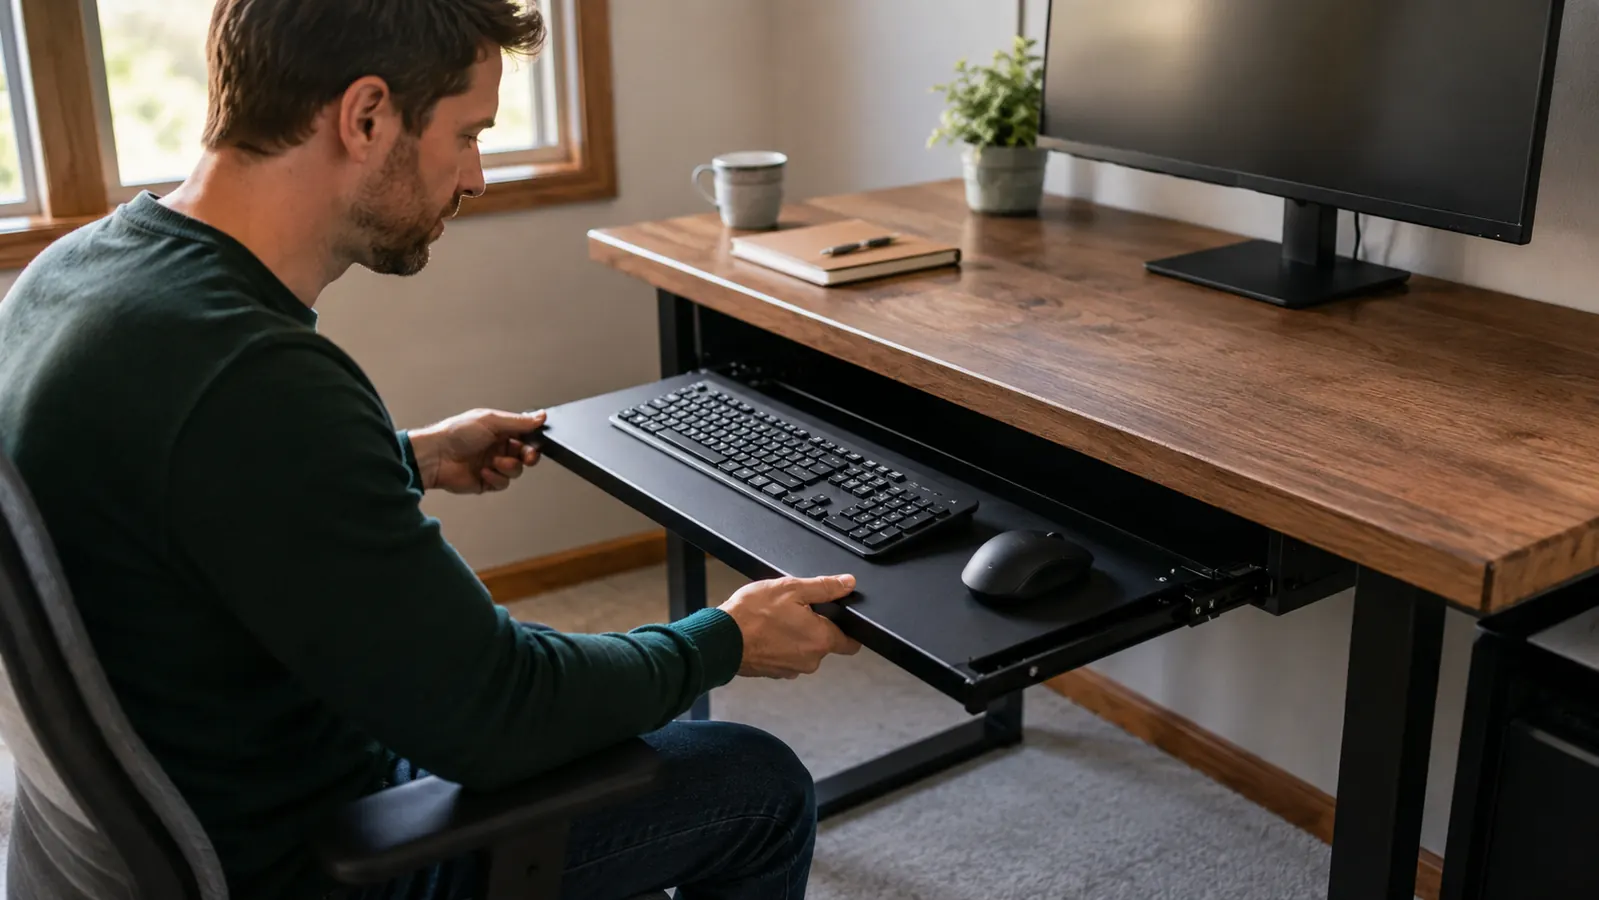
With the track mounted, attach the keyboard platform to the slide mechanism according to the manual, usually a matter of aligning tabs and securing a couple of screws underneath. Once it is on, pull the tray all the way out and push it all the way back in a few times before you put anything on it. You are checking for smooth, even motion across the full range, not just at the ends. The VIVO tray uses a ball-bearing slide, and it should glide without catching or grinding from the first pull.
If you feel resistance partway through the motion, stop and recheck that both clamps are tightened evenly. An uneven clamp is almost always the cause of a sticky slide on a brand new install, not a defective part. I have had exactly one slide need attention on mine, months later, and a small amount of household oil on the rail fixed it in under a minute.
Step 5: Set Your Keyboard and Adjust to the New Height
Set your keyboard and mouse on the platform and sit in your normal working position. Your elbows should rest at roughly a ninety degree angle, forearms close to level with the tray surface. If the tray height feels off, this usually comes down to where you mounted the track on the desk edge rather than the tray itself, since most clamp-on trays like VIVO's have a fixed drop distance below the desktop. Give yourself a few days before deciding whether it is right. My hands felt slightly off for the first week simply because they had moved lower relative to my monitor after years of typing directly on the desktop.
Check your mouse space too. A full-size keyboard takes up most of a standard tray's width, and a full-size mouse pad may not fit alongside it without some adjusting. I switched to a smaller mouse pad to solve this on mine, and it is a five minute fix if you run into the same thing. Once you are through that adjustment period, most people find they do not think about the tray at all, they just use it.
Last, walk your cables. Sliding the tray in and out repeatedly can catch a loose keyboard or mouse cord if you are not paying attention during setup, so route both cords with a little slack toward the back of the track before you call the job finished. It takes thirty seconds and it is the kind of thing you only think to fix after a cord has already gotten pinched once.
What Else Helps
A keyboard tray solves one specific problem: a keyboard that sits too high relative to your elbows. It will not fix a monitor that is mounted too low or a chair that does not adjust to your desk height, so it helps to look at your whole setup before assuming the tray alone will solve everything. If you are still deciding whether a clamp-on tray is worth it, I wrote the honest review of this keyboard tray after using mine daily for months, plus a separate piece on how it compares to typing on a fixed desk if you want the tradeoffs laid out side by side. And if wrist pain is what sent you looking for a fix in the first place, the ten reasons a keyboard tray fixes wrist pain covers the specific mechanics of why it works.
Once the tray is mounted and your typing height is sorted, take a fresh look at your chair height and monitor position, since both interact with the change you just made. Lowering your keyboard a couple of inches sometimes means your monitor, if it sits on a fixed riser, needs to come up slightly to keep your eye line where it was before. I did not need to touch mine, but I know people who did, and it is a five minute check worth doing in the same sitting rather than discovering the mismatch a week later.
The install took me twenty-five minutes the first time, most of it spent double checking clamp orientation I could have gotten right the first time if I had just read the diagram.
Ready to Install Yours This Weekend?
Once you have measured your desk edge and cleared the space underneath, the actual mounting takes less time than most people expect. The VIVO Small Keyboard Tray comes with everything in the box, no extra tools to buy. See today's price on Amazon.
Amazon Check Today's Price on Amazon →